


In today’s fast-paced supply chain environment, businesses are rapidly moving away from traditional barcodes and adopting Radio Frequency Identification (RFID) technology. Unlike barcodes, which require a direct line of sight, RFID technology allows you to scan hundreds of items in seconds. But a common hurdle many businesses face when setting up their internal tracking systems is understanding how to program RFID tags accurately and efficiently.
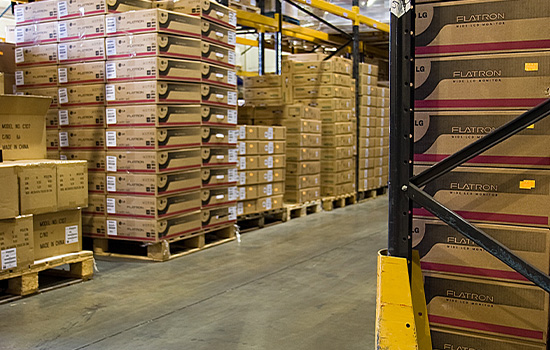
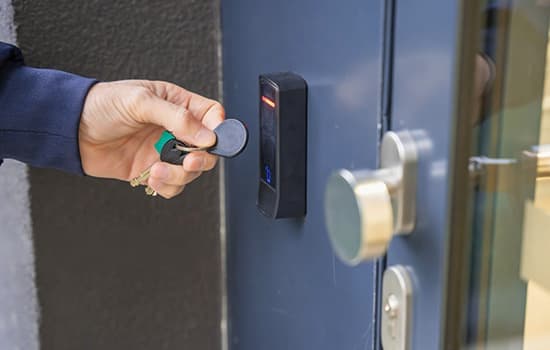
Whether you are tracking retail apparel, managing warehouse pallets, or securing IT assets, writing accurate data to your tags is the foundation of a reliable system. This comprehensive guide will walk you through the entire process of setting up your equipment, configuring your software, and successfully programming your tags.
Understanding the Basics: Radio Frequency Identification Labels
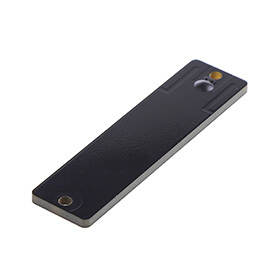
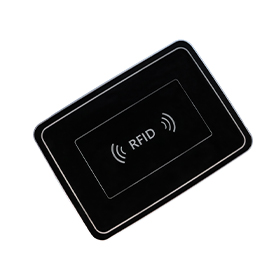
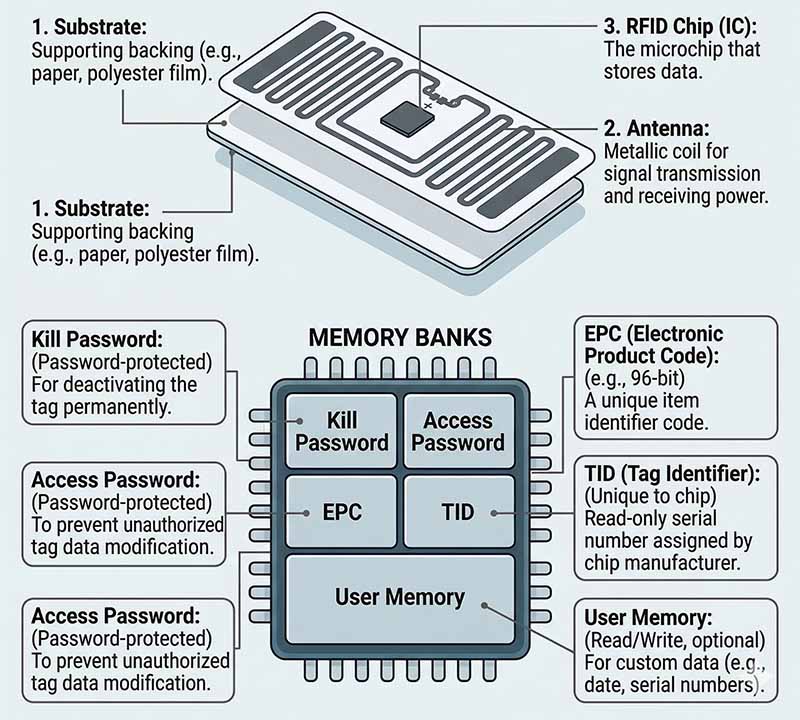
Before diving into the programming process, it is crucial to understand what you are working with. Radio frequency identification labels consist of three main components: an integrated circuit (IC) or microchip, an antenna, and the substrate (the face material and adhesive).
When we talk about programming an RFID tag, we are specifically referring to encoding data into the microchip's memory banks. Most commonly, businesses use UHF RFID (Ultra-High Frequency) tags because they offer a superior read range (often up to 30 feet or more) and fast data transfer rates, making them the global standard for logistics and retail.
There are four primary memory banks in a standard Gen2 UHF RFID tag:
- EPC (Electronic Product Code): The primary memory bank used to identify the item. This is what you will program 99% of the time.
- TID (Tag Identification): A unique, unalterable serial number permanently written by the chip manufacturer.
- User Memory: An optional bank for storing additional custom data (e.g., expiration dates, batch numbers).
- Reserved (Passwords): Used to store access and kill passwords to lock or permanently disable the tag.
Essential Equipment for Programming RFID Tags
To build an in-house RFID encoding station, you cannot simply use a standard office laser printer. You need specialized hardware and software designed to handle both the thermal printing of human-readable text/barcodes and the internal encoding of the microchip.
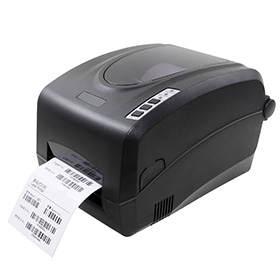
1. The RFID Printer
An RFID printer functions as both a printer and an encoder. As the label rolls through the machine, a built-in antenna communicates with the microchip inside the label, writing the EPC data right before the printhead applies the visual barcode and text. Leading brands include Zebra, SATO, and Avery Dennison.
2. RFID Encoding Software
You need label design software that supports RFID encoding. Programs like BarTender, NiceLabel, or ZebraDesigner allow you to drag and drop visual elements onto a digital canvas while simultaneously mapping database fields (like an Excel sheet or ERP system output) to the RFID chip’s EPC memory bank.
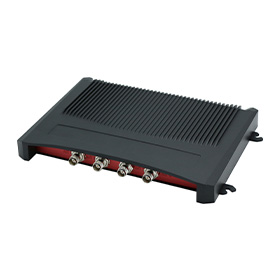
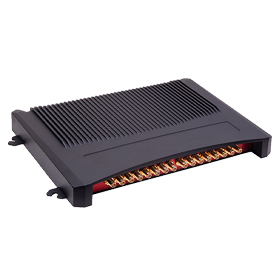
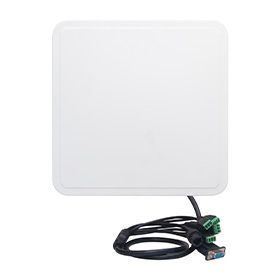
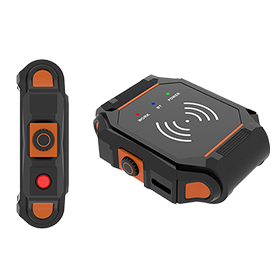
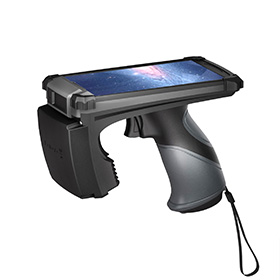
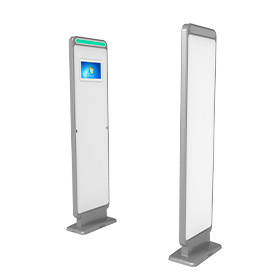
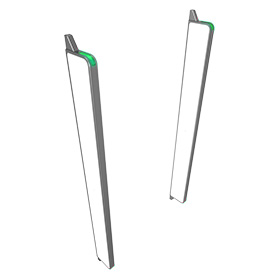
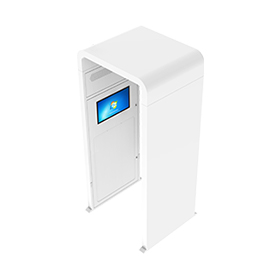
3. RFID Readers
Once programmed, you will need RFID readers (either handheld or fixed portals) to scan the tags and verify the data. While the printer verifies the tag internally during the printing process, having a separate handheld reader ensures your tags are functioning correctly in real-world conditions.
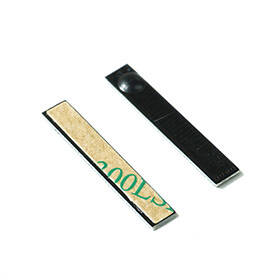
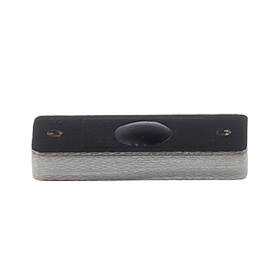
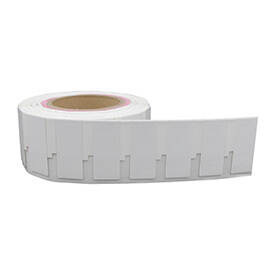
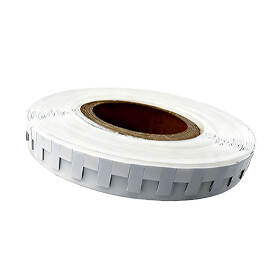
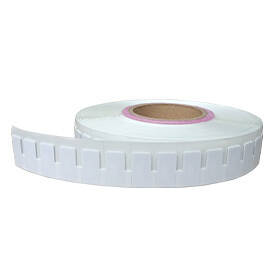
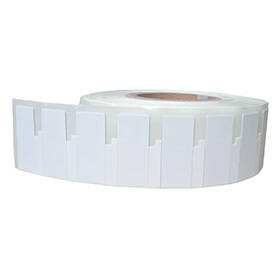
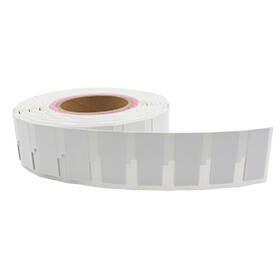
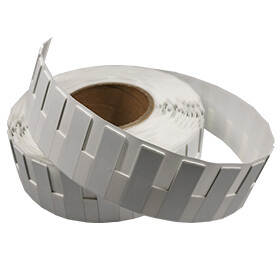
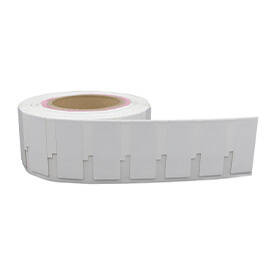
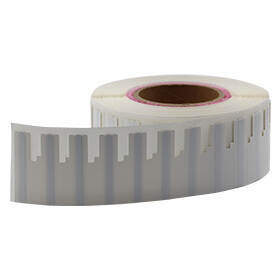
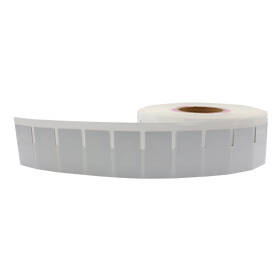
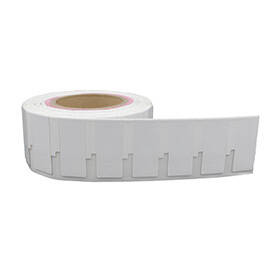
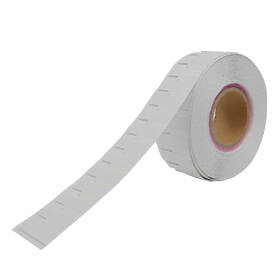
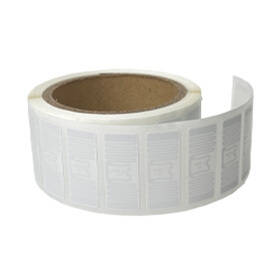
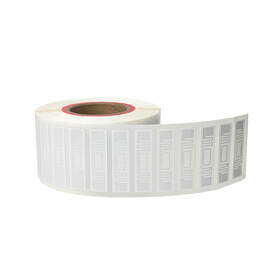
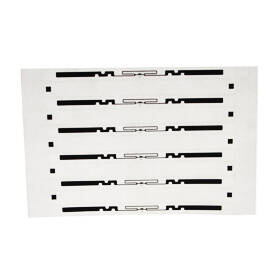
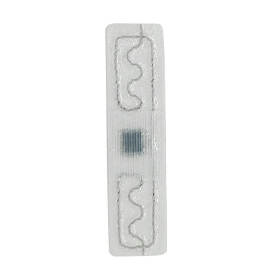
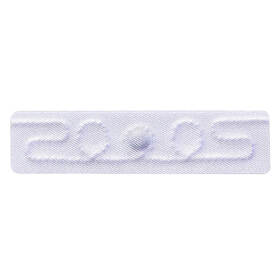
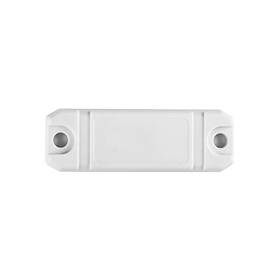
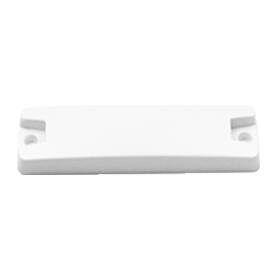
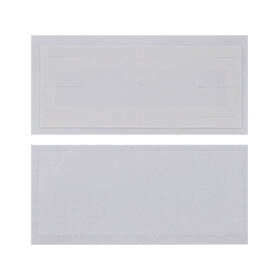
4. The Right Blank Labels
The quality of your media dictates the success of your encoding. If you want a seamless setup, we highly recommend utilizing specialized printable RFID labels. These are engineered specifically to pass through thermal transfer printers smoothly, ensuring the chip is perfectly aligned with the printer's internal encoder antenna.
Step-by-Step: How to Program RFID Tags with a Printer
Setting up your system requires careful alignment of hardware and software. Follow these steps to program your RFID tags for inventory efficiently.
Step 1: Calibrate the RFID Printer
Before writing any data, the printer must understand the physical dimensions of the label and the exact location of the RFID inlay.
- Load your roll of labels and the thermal transfer ribbon into the printer.
- Navigate to the printer's onboard menu and run a "Media and Ribbon Calibration."
- Run an "RFID Calibration." This is a critical step. The printer will feed several blank labels through the mechanism, testing different power levels and antenna positions to find the optimal read/write settings for your specific label model.

Step 2: Design the Visual Label Format
Open your RFID software (e.g., BarTender). Set your page dimensions to match the physical size of your label. Add the human-readable elements you need:
- Company Logo
- 1D or 2D Barcode (often mirroring the EPC data as a backup)
- Product Name and SKU
Step 3: Configure the RFID Data Encoding
In your software, locate the "RFID Setup" or "Encoder" properties.
- Select the EPC memory bank.
- Choose your data format. You can encode data as ASCII (standard text/numbers) or Hexadecimal (Hex). Hex is the industry standard for EPC memory because it compresses data efficiently.
- Link the EPC data to your data source. If you are printing a batch of 1,000 labels, you will link the RFID encoder object to a serialized counter or an imported database column so that every single tag gets a unique identifier.
Step 4: Print, Encode, and Verify
Send a test print of 3 to 5 labels. During this process, the printer will pause momentarily on each label, send an RF signal to write the data, verify that the data was written correctly, and then print the visual layer.
- Take your handheld RFID reader.
- Scan the newly printed labels to ensure the reader picks up the exact EPC numbers you intended to write.
Best Practices for Choosing Custom RFID Stickers
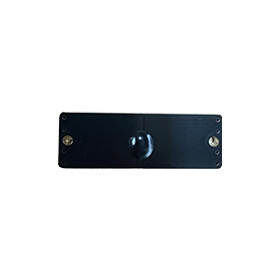
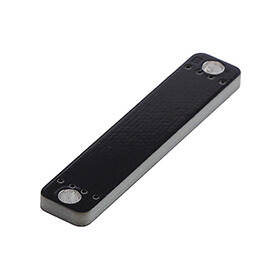
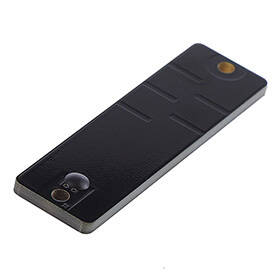
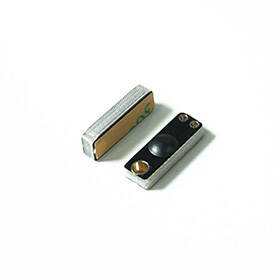
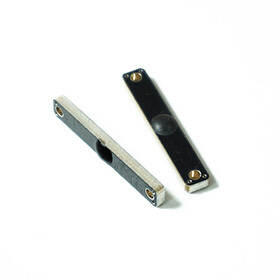
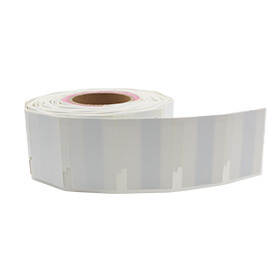
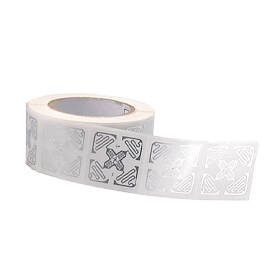
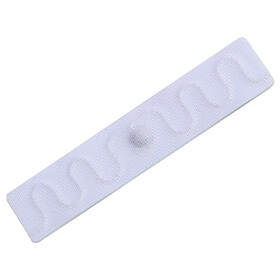
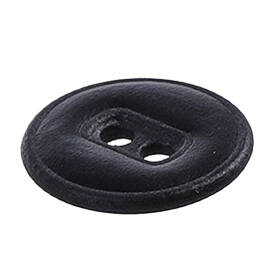
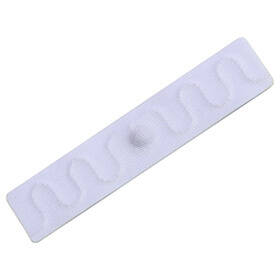
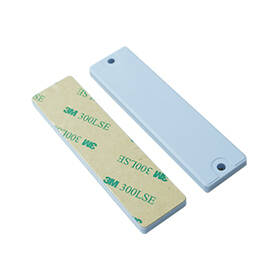
Not all tracking scenarios are the same, and your physical tags must match your environment. Printing standard paper labels works perfectly for cardboard boxes, but what if you are tracking metal tools, chemical drums, or outdoor equipment?
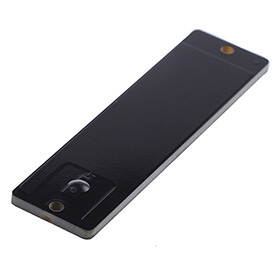
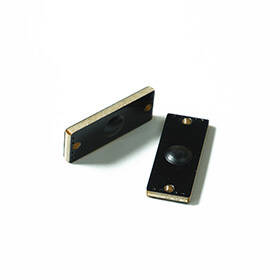
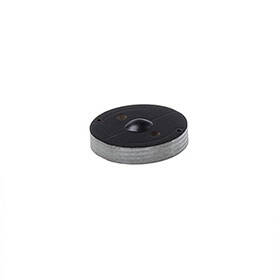
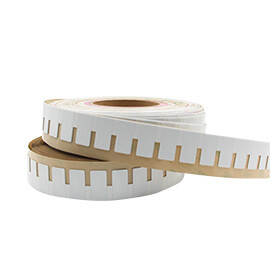
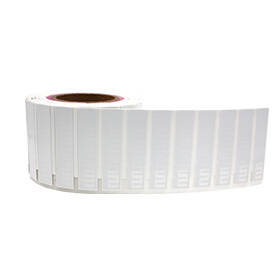
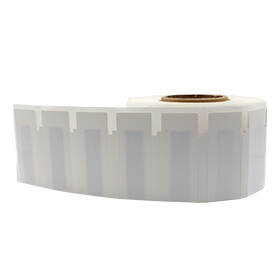
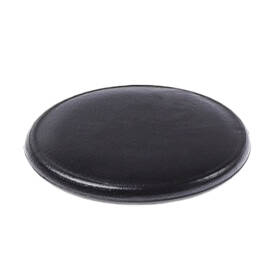
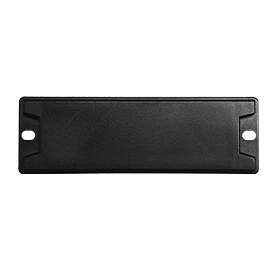
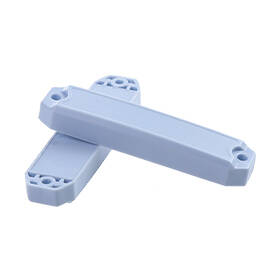
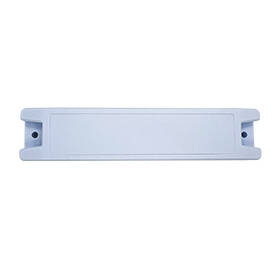
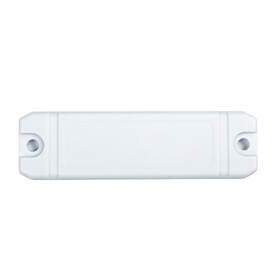
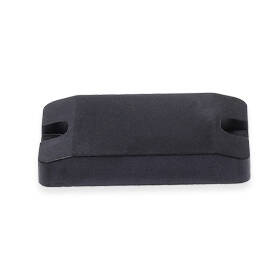
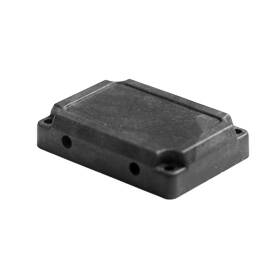
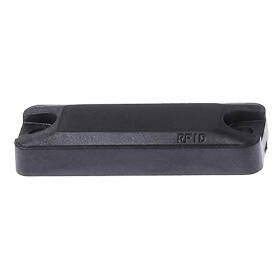
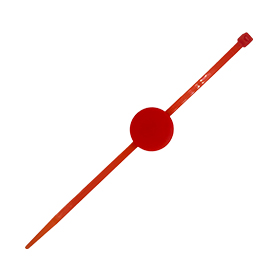
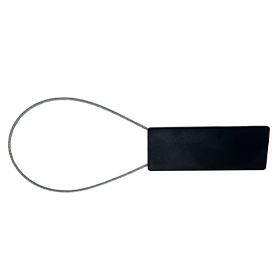
If you require specific adhesives, weather-resistant materials, or specialized on-metal inlays, you should explore custom RFID stickers. When choosing custom media for your printer, keep the following in mind:
- Pitch Length: The distance from the start of one label to the start of the next. Ensure your printer's internal antenna can isolate a single tag based on this pitch without accidentally encoding the label next to it.
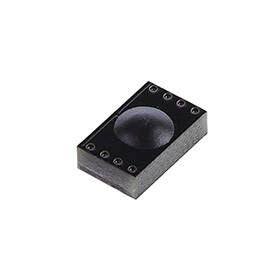
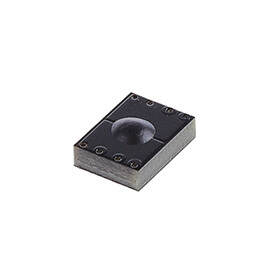
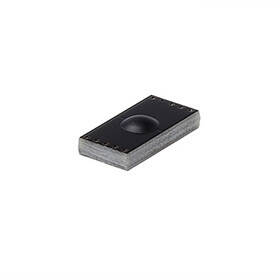
- Printer Compatibility: On-metal tags are often thicker due to a foam backing. Verify that your printer model is rated for high-thickness "on-metal" printing, or the printhead could be damaged.
Troubleshooting Common RFID Encoding Errors
Even with perfect setup, programming an RFID sticker can sometimes result in errors. Here is how to handle the most common issues.
1. The "VOID" Error
If your printer successfully prints the text but prints a large, black "VOID" across the label, it means the RFID encoding failed.
- Cause: The printer tried to write to the chip, read it back, and realized the data didn't match (or the chip didn't respond).
- Fix: Check your RFID calibration. The tag might be positioned incorrectly over the encoder. Alternatively, the specific inlay might be dead (a 1-2% failure rate on a roll is normal in manufacturing).
2. Duplicated Data (Cross-Talk)
You scan 10 tags, but three of them show the exact same EPC number, even though you set up a serialized counter.
- Cause: The printer's internal antenna power is set too high, causing it to broadcast the signal too widely and accidentally write the same data to the next tag in the roll.
- Fix: Lower the RFID Write Power in the printer’s settings to restrict the signal field exclusively to the label currently resting over the antenna.
3. Hexadecimal Formatting Errors
Your software throws an error preventing the print job from starting, citing "Invalid Character."
- Cause: You selected Hexadecimal encoding but tried to input letters like G, H, or Z. Hex only supports numbers 0-9 and letters A-F.
- Fix: Convert your desired text to Hex using an online converter, or change your software’s encoding setting to ASCII.
Conclusion
Learning how to program RFID tags opens the door to unparalleled inventory accuracy and operational speed. By investing in the right printer, mastering your encoding software, and sourcing high-quality blank media, you can bring your label production fully in-house. Take the time to calibrate your machines carefully, test your read ranges, and always keep a handheld reader nearby for quality assurance.
Frequently Asked Questions (FAQ)
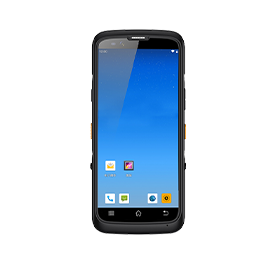
Can I program RFID tags with my smartphone?
Yes, but with limitations. If you have NFC (Near Field Communication) tags, any modern smartphone can program them. However, for standard UHF RFID tags used in logistics and retail, you need a dedicated UHF RFID sled or an industrial printer, as smartphones do not contain UHF antennas.
How many times can an RFID tag be programmed?
Most standard Gen2 UHF RFID tags can be rewritten up to 100,000 times in their user and EPC memory banks. However, if you "lock" the memory bank using a password during the encoding process, the data becomes permanent and cannot be altered.
Why is my RFID printer skipping labels?
This is usually a media calibration issue. The printer is failing to detect the gap or black mark between labels. Run a standard media calibration (not just an RFID calibration) so the printer's sensors can accurately detect where one label ends and the next begins.
What is the difference between EPC and TID memory?
The TID (Tag ID) is a permanent, read-only serial number stamped onto the chip by the manufacturer (like a MAC address). The EPC (Electronic Product Code) is the writable memory bank that you program to represent your specific product or inventory number.